If you’re an amateur Java developer, like I am, you probably know that creating the simplest of GUI driven applications can be challenging. While reading for the final year of my degree, a year or so ago, I came across WindowBuilder which, in short, takes the pain out of building a graphical interface for Java applications. If you’re an Eclipse IDE user, read on.
Adding WindowBuilder to Eclipse
I currently have Eclipse Neon.3 Release 4.6.3 installed on my home PC. The procedure outlined should however work on older and later releases of Eclipse.

From the Help menu, select Install New Software …

Type http://download.eclipse.org/windowbuilder/WB/integration/4.6/ in the Work With field, check the box next to WindowBuilder and hit the Next button.

Review the items that will be installed and hit Next. I opted to install all the items listed but you can always pick and choose what to install.

Accept the license agreement and hit Finish.

After the installation completes, you will be asked to restart Eclipse.


To test WindowsBuilder, create or open an existing Project. From the default package, select Other from the New menu or simply press CTRL-n. Scrolling down to the end of the Wizards list, you should see an entry named WindowBuilder.

As an example, I want to create an application that uses Swing so I simply expand Swing Designer and select Application Window from the list of available options. Click Next.

Type in a name for the new Swing application and click Finish.

The wizard creates all the required base code for you. If you run it, an empty JFrame window is displayed.
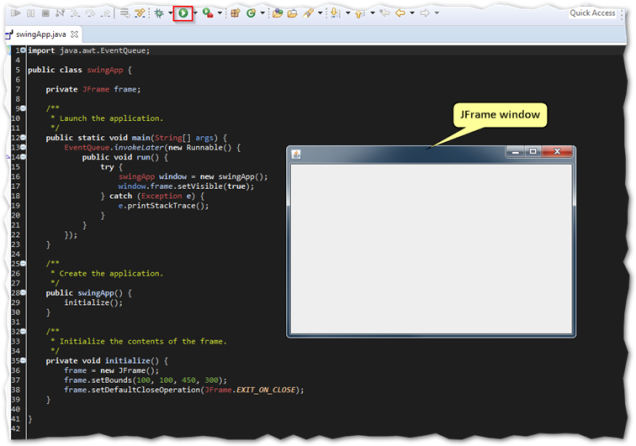
To add elements or components to the JFrame, switch to the Design page by clicking the tab at the bottom of the code page. Once you’re there, you can change the layout, add containers, event handlers and what not. Although all the required code is automatically added for you, you still need to add logic to it to make it all work. So for instance, if you want to add a record to a database by clicking on an Add button, you will add the required logic to an event handler. To do this simply, right-click on a component, a JButton in this case, and select an event handler.

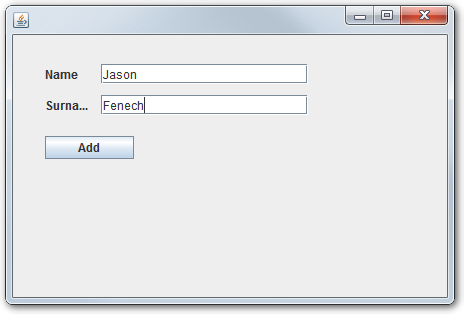
Here’s a more thorough example of what WindowBuilder can do for you. This is a screenshot of an application I wrote as part of my studies.

So, now you know what tool to use when developing an UI driven Java app! To learn more about WindowBuilder, visit the official documentation site here.
Thanks!
